Template Pattern Tutorial
This tutorial aims to guide you in understanding and applying the Gang of Four (GoF) template design pattern. Throughout this tutorial, you will learn how to create a UML class diagram for the template pattern and save it as a design pattern file for future reuse.
What is Template Design Pattern?
The Template Design Pattern is a behavioral design pattern that defines the basic steps or structure of an algorithm and allows subclasses to override some of those steps without changing the algorithm’s overall structure. In other words, it provides a way to create a blueprint or a template for a set of algorithms, which can be modified based on specific requirements.
The pattern is based on the idea of separating the algorithm’s overall structure from its individual steps or implementations. By doing so, it enables the developers to reuse the common parts of the algorithm, while still being able to modify the specific steps according to their needs.
In essence, the Template Design Pattern is used when we want to provide a skeleton or a framework for an algorithm, but allow its individual steps to be defined by the subclasses. This way, we can ensure that the overall algorithm’s structure remains unchanged, while still being able to customize its behavior as per specific requirements.
Modeling Design Pattern with Class Diagram
- Create a new project Design Patterns.
- Create a class diagram Template.
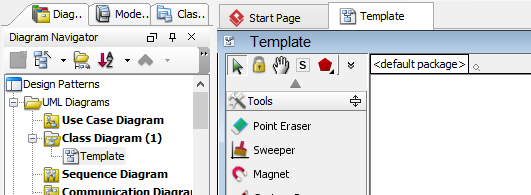
- Select Class from diagram toolbar. Click on the diagram to create a class. Name it as AbstractClass.
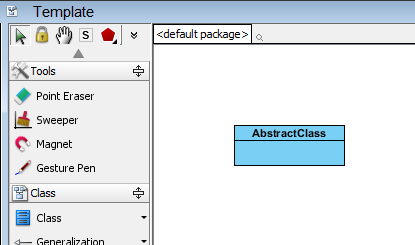
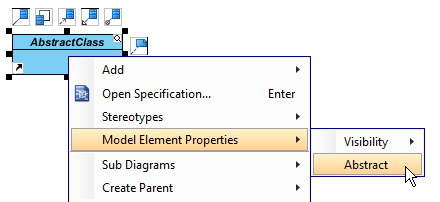
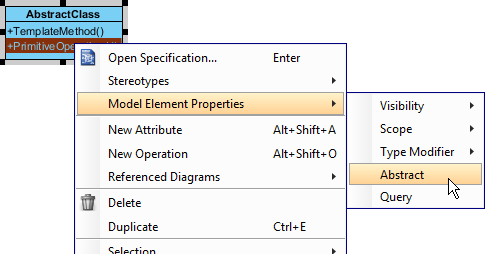
- Right-click on AbstractClass, and select Model Element Properties > Abstract to set it as abstract.
- Right-click on the AbstractClass class, and select Add > Operation from the popup menu.

- Name the operation TemplateMethod().

- Create another operation PrimitiveOperation1().

- Right-click on PrimitiveOperation1, and select Model Element Properties > Abstract to set it as abstract.
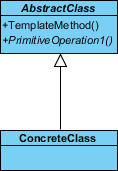
- Move the mouse cursor over the AbstractClass class, and drag out Generalization > Class to create subclasses ConcreteClass.
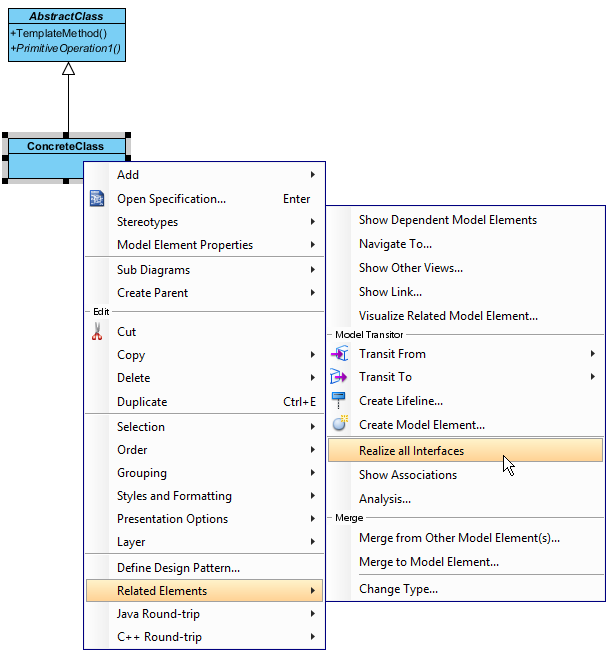
- We need to make the concrete classes inherit operations from the abstract class. Right-click on ConcreteClass and select Related Elements > Realize all Interfaces from the popup menu.
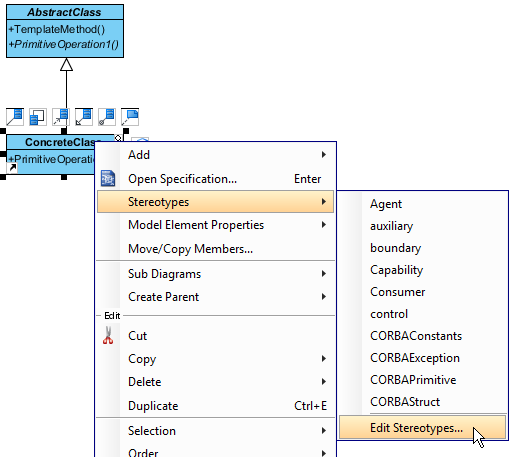
- In practice, there may be multiple concrete strategies. To represent this, stereotype the class ConcreteClass, as PTN Cloneable. Right-click on ConcreteClass and select Stereotypes > Stereotypes… from the popup menu.
- In the Stereotypes tab of the Class Specification dialog box, select PTN Cloneable and click > to assign it to ConcreteClass class. Click OK to confirm.
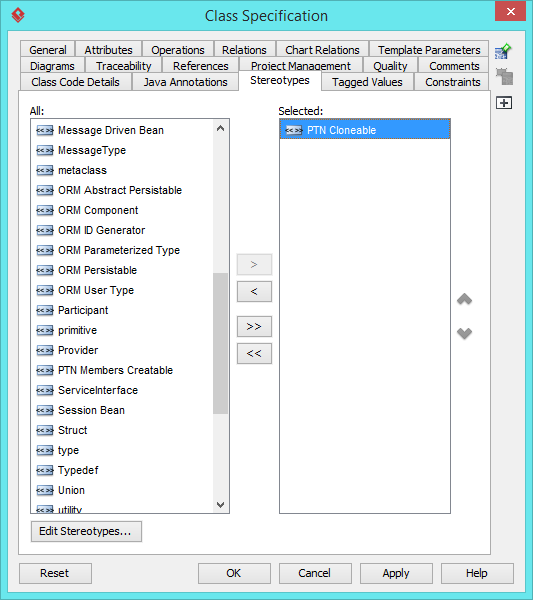
- There may be multiple primitive operations. To represent this, stereotype the class AbstractClass as PTN Members Creatable. Repeat steps 11 and 12 to stereotype AbstractClass as PTN Members Creatable.
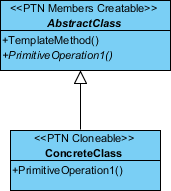
Saving the Defining Pattern
- Select all classes on the class diagram.
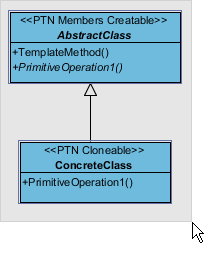
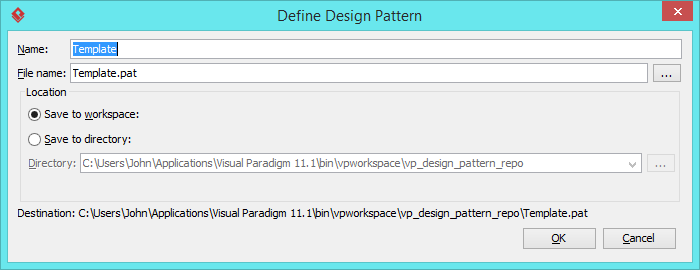
- Right-click on the selection and select Define Design Pattern… from the popup menu.
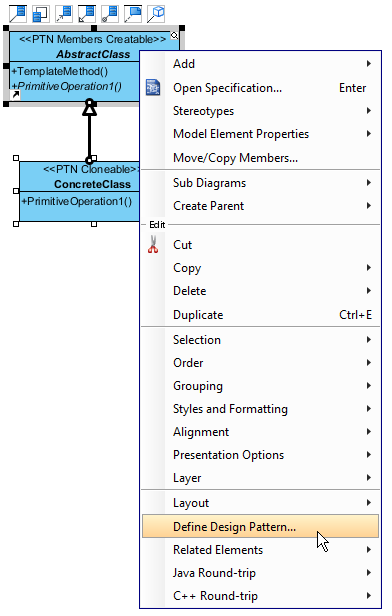
- In the Define Design Pattern dialog box, specify the pattern name Template. Keep the file name as is. Click OK to proceed.
Applying Design Pattern on Class Diagram
In this section, we are going to apply the template pattern in modeling a diagram editor.
- Create a new project Diagram Editor.
- Create a class diagram Domain Model.
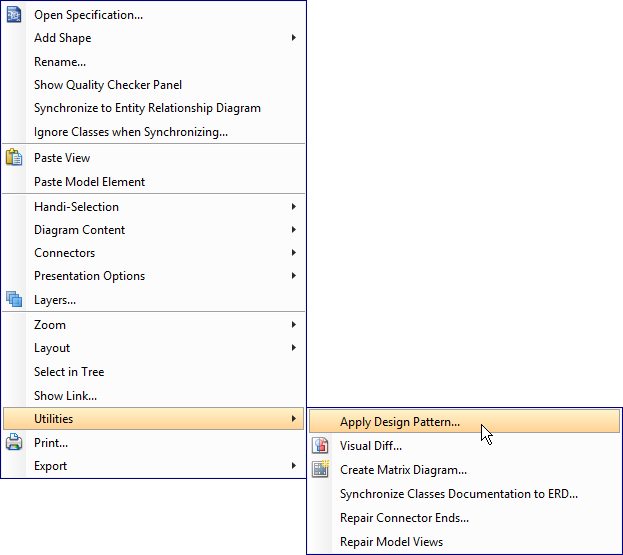
- Right-click on the class diagram and select Utilities > Apply Design Pattern… from the popup menu.
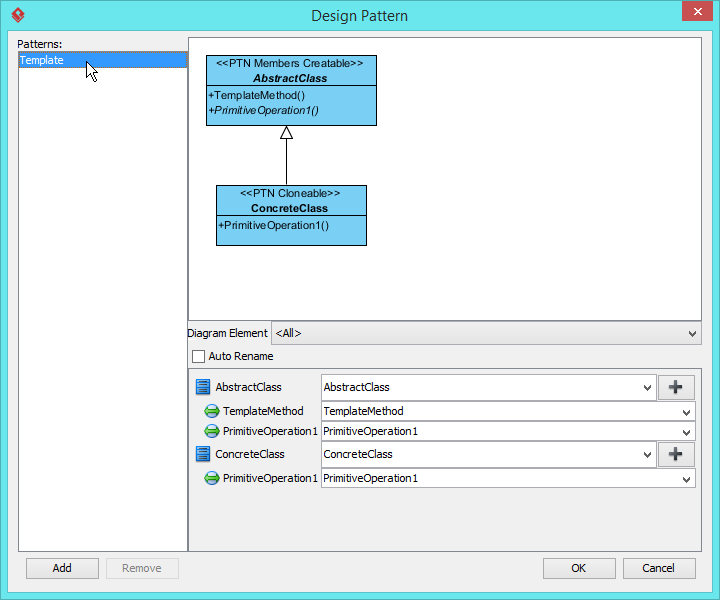
- In the Design Pattern dialog box, select Template from the list of patterns.
- At the bottom pane, rename AbstractClass and ConcreteClass to Shape and OvalShape.
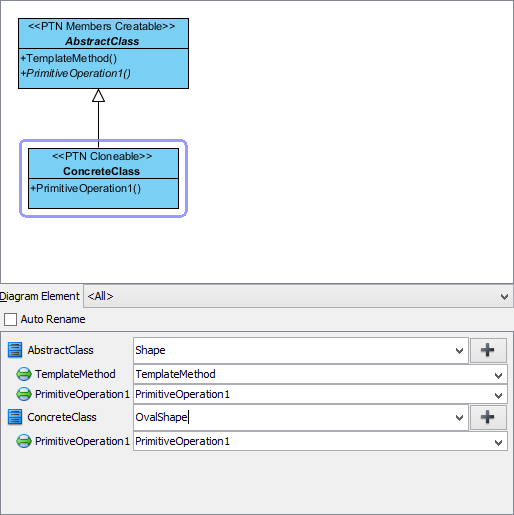
- We need to have one more concrete class for text shape, click on the + button next to ConcreteClass and select Clone… from the popup menu.

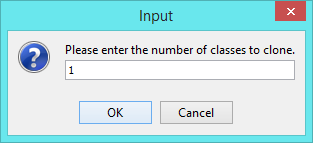
- Enter 1 to be the number of classes to clone. Click OK to confirm.
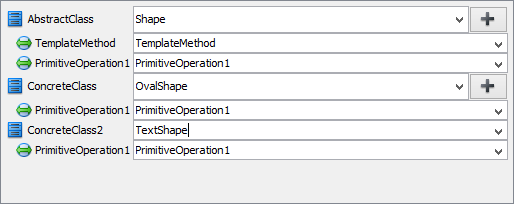
- Rename ConcreteClass2 to TextShape.
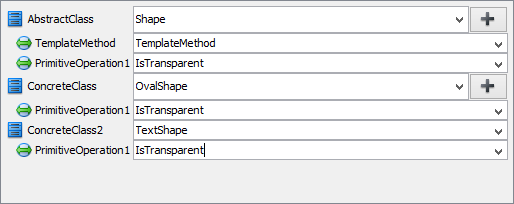
- Rename TemplateMethod and PrimitiveOperation1 to Render and IsTransparent respectively.
- Click OK to apply the pattern to diagram.
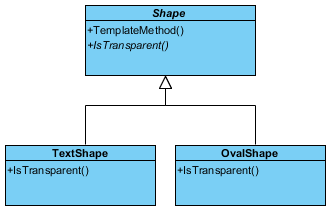
- Tidy up the diagram. Here is the result:
